September 29, 2026 · by Stachi · 4 min read
Harvesting Jerusalem artichoke: why you dig after frost — and never find every tuber
Jerusalem artichoke is easy to grow, pretty, and almost impossible to get rid of again. Here's why the first proper frost weekend is the best time to dig, and what to do so your raised bed doesn't turn into a forest of it next year.
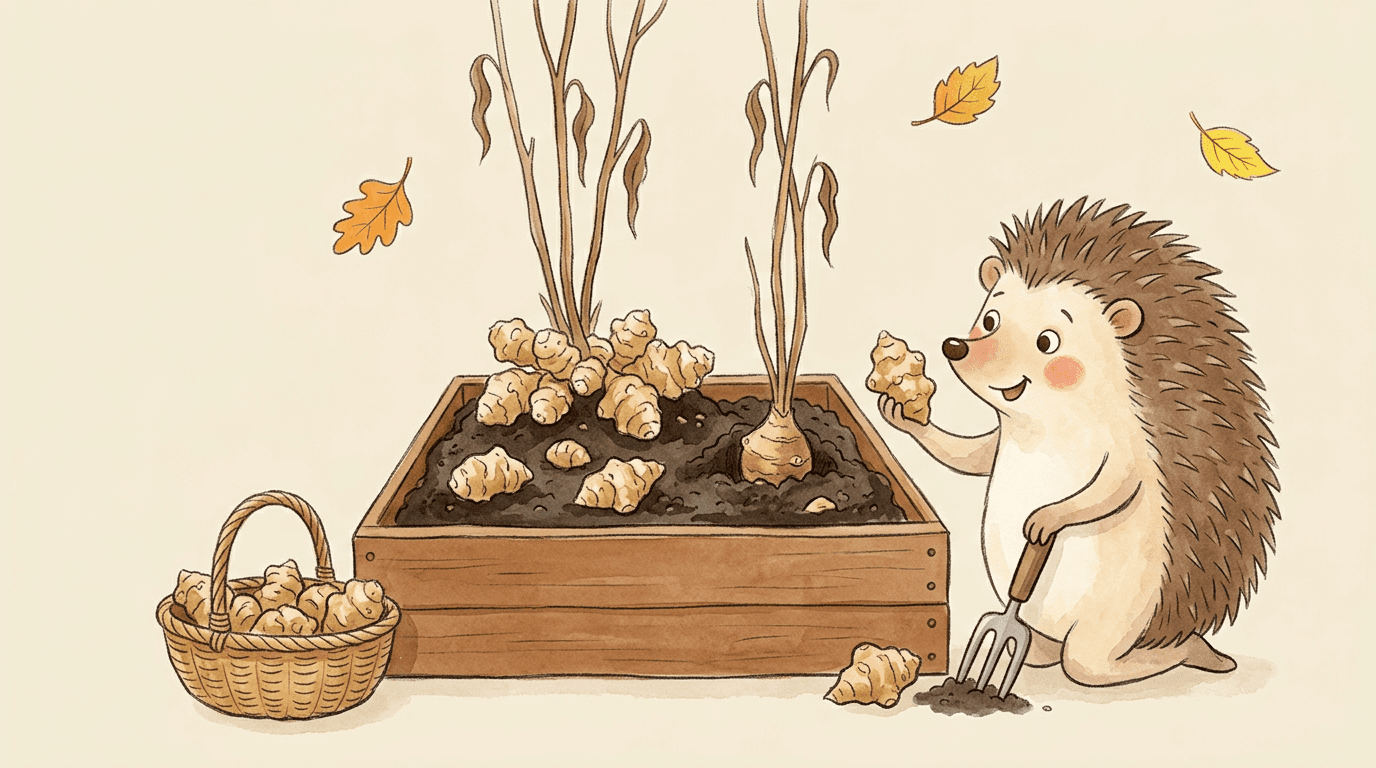
Mrs. Schneider showed me five Jerusalem artichoke tubers back in spring, a gift from her sister. "They just grow on their own, apparently," she told me. True. Last week I stood in front of her raised bed looking at a wall of yellow flowers over two metres tall, hiding the actual bed underneath almost completely. My first question wasn't "when do you harvest" — it was "do you actually want to be able to get rid of these again".
That's the part people underestimate about Jerusalem artichoke: it isn't a sowing decision like radishes, where next spring you either sow again or you don't. It's a location decision. Every tuber that stays in the ground — and some always do, no matter how carefully you dig — sprouts again next spring.
Why the first frost is the right moment
As long as the plant is green and flowering up top, it's still working. Only once a proper hard frost kills off the stalks and leaves does it pull the last reserves out of the foliage and back down into the tubers. That's exactly what changes the flavour: tubers harvested before frost often taste thin and watery, while tubers dug after the first frost turn noticeably nuttier and more flavourful. It's a similar story to parsnips — except here the trigger isn't the tuber itself freezing, it's the above-ground plant dying off and no longer sending a signal to keep growing.
In the Erntezeit plant database, the harvest window for Jerusalem artichoke opens in calendar week 43 and runs well into winter and through spring — the tubers hold up in the soil practically until next year's new shoots appear. For Berikon and similar mid-elevation locations, that means: once the first night with noticeable frost is behind you and the stalks have turned brown and wilted, you can start digging. After that there's no tight window at all — unlike celeriac or pumpkin, there's no need to rush. The tubers are perfectly happy staying in cold ground, and you can harvest in small batches whenever you actually need some.
How to dig without turning over half the bed
- Cut the dead stalks about 10 cm above the ground. That shows you where the root crown sits, and the stubble marks the exact spot where unwanted new shoots will pop up next spring.
- Dig widely around the base with a garden fork, at least 30 cm out — the tubers often sit surprisingly far from the stalk itself.
- Lift the soil gently rather than sieving through it. Jerusalem artichoke tubers are knobbly and break easily; broken-off pieces go unnoticed in the soil and sprout again regardless.
- Collect the small, thumbnail-sized tubers too, consistently. Those are exactly the ones people miss most often — and exactly the ones that are enough to bring the plant back next year.
- Do a second pass a few days later, after rain has softened the remaining soil. Whatever got missed the first time round often turns up then.
Storage — and a trick that surprises most people
Freshly dug Jerusalem artichoke tubers keep in the fridge crisper drawer for about a week, unpeeled, before they start going soft. The real trick: you don't need storage at all. Because the tubers sail through winter just fine underground, the best approach is to only dig up what you'll actually use in the next few days and leave the rest exactly where it is. Your raised bed becomes its own root cellar — you can keep harvesting right up until the new shoots appear in March.
The catch: it doesn't leave
If this is your first year growing Jerusalem artichoke and you don't want it back next year, plan realistically for two or three harvest rounds over the winter, not one. If you want to be properly done with it, dig the whole area over again in early spring as soon as the first new shoots show — that catches the tubers that slipped through in autumn before they get leaves of their own. If you'd rather keep it, give it its own corner in the bed, or sink a root barrier of sturdy pond liner around it, otherwise it migrates into the neighbouring section. Since it grows so tall, there's a good double-use trick underneath: spinach, lettuce or corn salad tolerate the shade from the stalks well and can grow right alongside it while the tubers are still in the ground.
Mrs. Schneider decided to keep hers — but only in an old zinc tub with a hole in the bottom, sunk right into the middle of the raised bed. "At least now I know exactly where it's allowed to stay," she said. I think that's the smartest solution I've seen all autumn.
🦔 Stachi
Products mentioned in this post
- Gardena Classic planting trowelQuality steel, corrosion-protected — bed all-rounder.
- Gardena flower trowel, large
- Bosch hand fork, stainless steel
- Draper sturdy hand fork, stainless steel
Related plants


More articles
October 10, 2026 · 2 min read
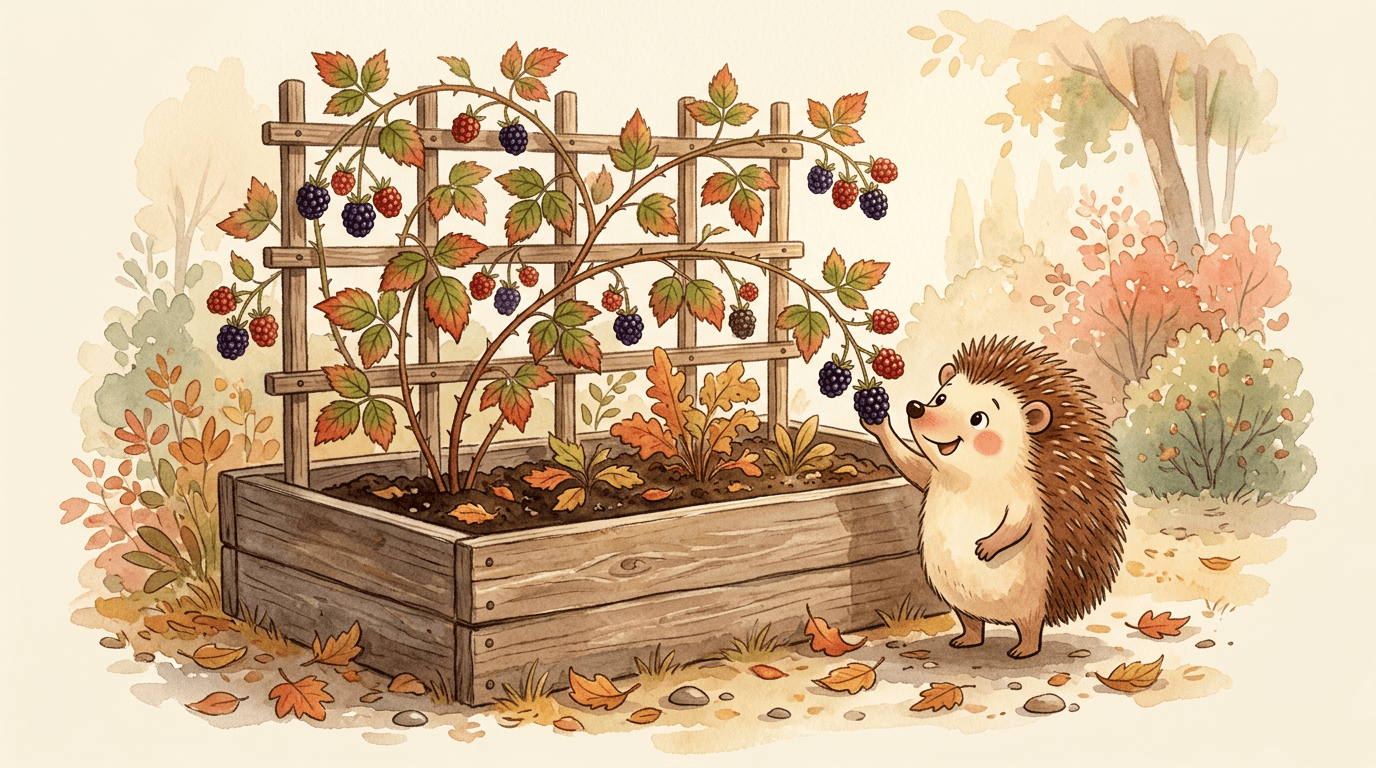
Planting blackberries in a raised bed this autumn: why one plant can already be too many
Frau Schneider ordered three thornless blackberry plants for her kids – all three meant for one single raised bed. I had to tell her that even one of them will outgrow it eventually. Here's what actually matters for an autumn planting.
October 9, 2026 · 2 min read
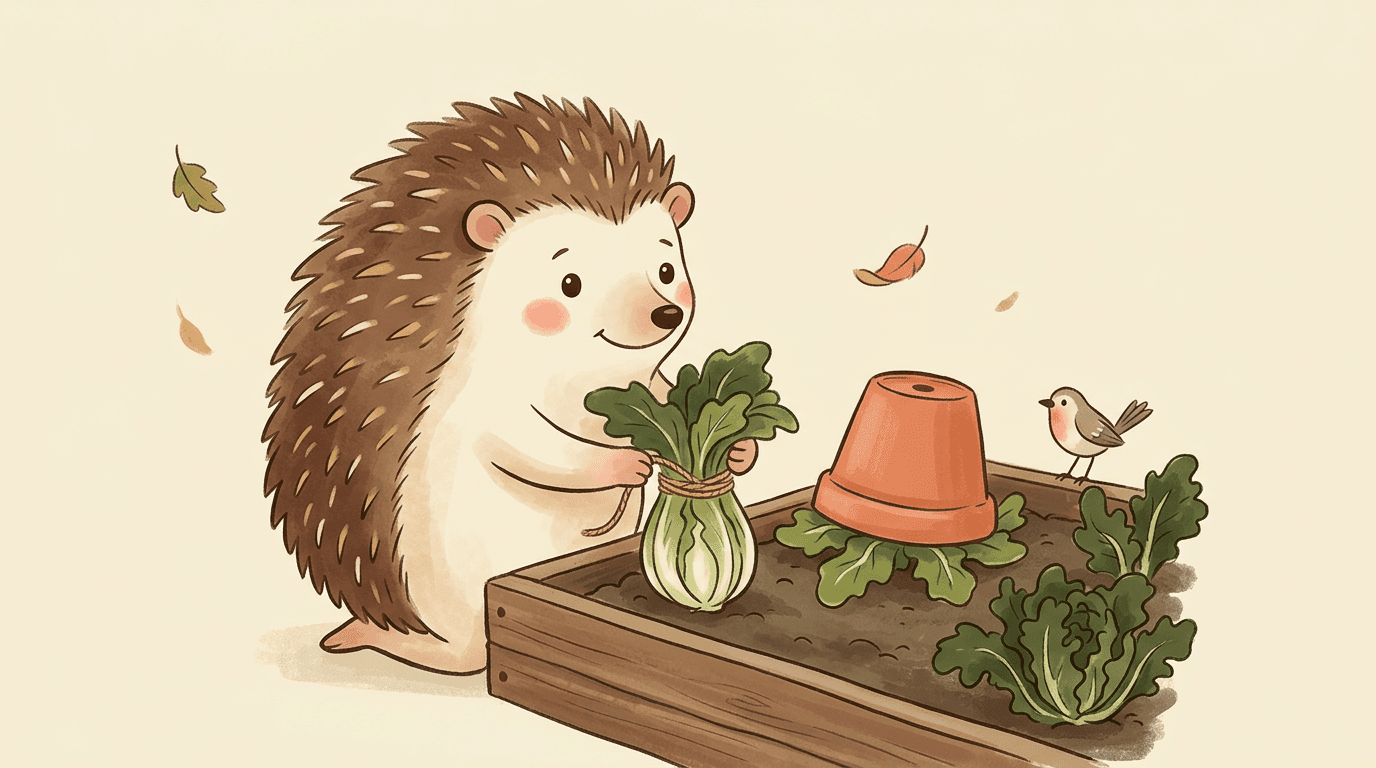
Blanching endive: the trick against bitterness – and where rot is lurking
Frau Schneider tied up her endive on a rainy afternoon because she didn't have time to wait. A week later the heart was brown and slimy instead of pale and tender. Here's what actually matters when you blanch it.
October 8, 2026 · 2 min read
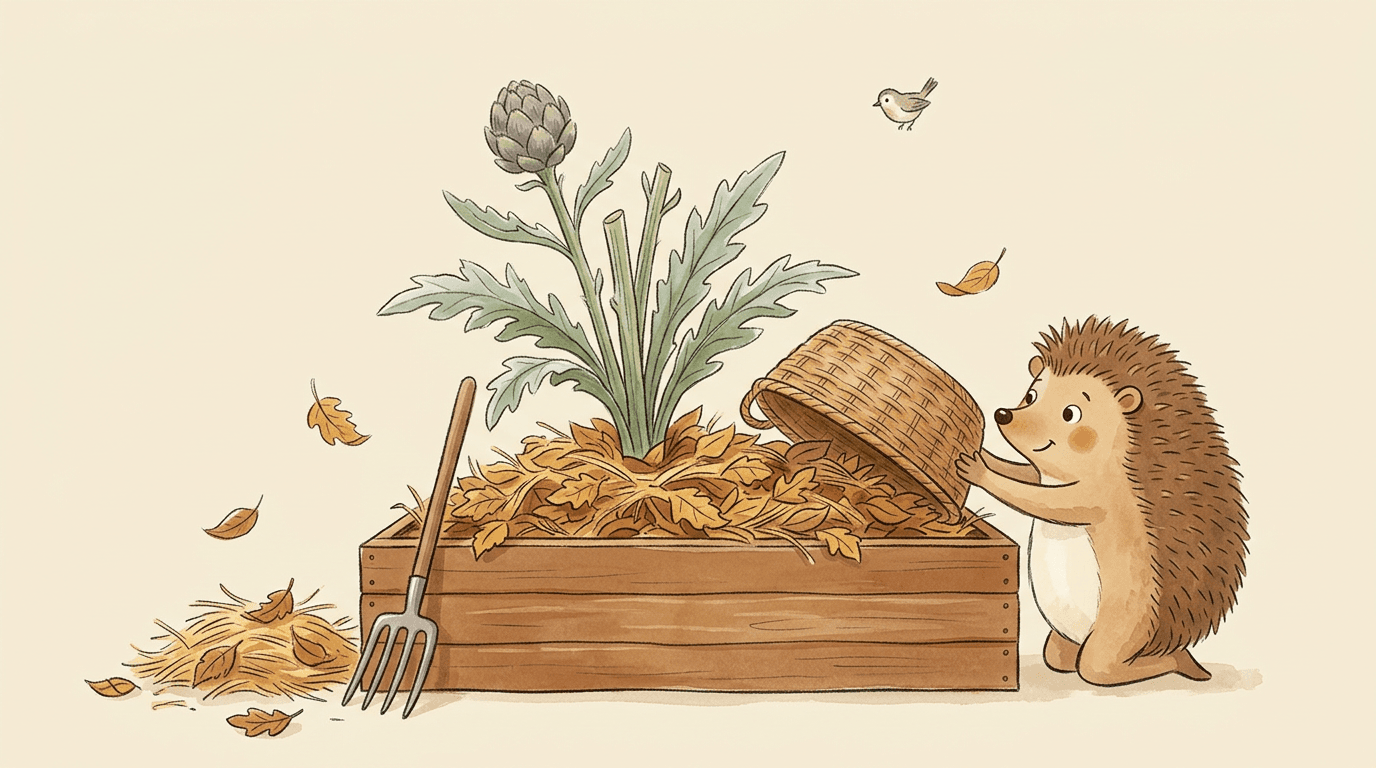
Overwintering artichokes: why they freeze faster in a raised bed than in open ground
Frau Schneider's artichoke grew real buds for the first time this summer – now she's worried the plant won't survive the first hard frost in her raised bed. She's right to worry: raised-bed soil freezes differently from garden soil. Here's how to protect the rootstock properly.