August 31, 2026 · by Stachi · 3 min read
Saving seeds from your raised bed — which plants are worth it
Late August shows you which plants had the best season. These are exactly the ones you want to keep for next year — as your own seeds. Which varieties work, why hybrids are a trap, and how tomato seed saving actually works.

Late August is the moment when you know which plants really performed this year. A tomato that kept going despite the heat and occasional dry spells. Beans that set early. A zucchini that was robust from the start.
That's your starting point for saving your own seeds.
Why now is the right time
Seed saving needs fully ripe fruits — not harvest-ripe, but overripe. A tomato you're saving seeds from has to be softer than one you'd eat. Beans need to be dry and rattling in their pods. Zucchini need to be large and hard, almost like a small pumpkin.
Late August through early September is exactly this window for many varieties. The fruits have absorbed all of the plant's energy. That's the moment.
Which varieties work — and which don't
This is the most important point before you start: only open-pollinated (non-hybrid) varieties produce seeds that give you the same plant next year.
Hybrids — recognizable by «F1» on the seed packet — do produce seeds, but the offspring are genetically mixed. You can't predict what you'll get. Sometimes it's good; often it's disappointing.
Open-pollinated varieties — also called «heirloom» — give true offspring. What you had this year, you'll get again next year.
Good candidates for your own seeds:
- Tomatoes — most old varieties like Ochsenherz (ox heart), Tigerella, San Marzano are open-pollinated
- Beans — almost all open-pollinated, very easy to save
- Zucchini — open-pollinated, but you need a very overripe fruit
- Pumpkins — similar to zucchini, stores well
- Peppers — open-pollinated if you have a non-F1 variety
- Cucumbers — possible, but flavour varies more between generations
Saving tomato seeds — here's how it works
This is the best-known method and reliably works.
Step 1: Choose a fully ripe, ideally unblemished fruit. Not the biggest — the one with the best story. If that plant made it through August well, that's your specimen.
Step 2: Cut the fruit open and scrape out the seeds along with their gel. Put both together in a glass with some water.
Step 3: Leave the glass at room temperature for two to three days. A light mould film will form on the surface — that's intentional. It breaks down the gel protecting the seeds. In nature, this happens in the soil.
Step 4: Pour off the water, rinse the seeds several times until the water runs clear. The viable seeds sink to the bottom.
Step 5: Spread the seeds on kitchen paper and let them dry at room temperature for two weeks. Not in sunlight, not in the oven.
Step 6: Store in labelled envelopes — variety name, year, location. Cool and dark, but not in the refrigerator, which is too humid. A drawer away from sunlight is enough.
Tomato seeds stay viable for four to five years.
Beans — the easiest seed saving of all
Beans don't need the fermentation method. You simply leave a few pods on the plant until they're completely dry and rattling.
Then: pick the pods, open them, remove the seeds. Lay on paper, let dry for another two weeks. Pack into labelled envelopes.
Frau Schneider has been doing this for years: «I always take pods from the plant that finished earliest. Not the biggest beans — the fastest ones.» That's a smart principle. You're selecting across generations for what works at your specific site.
Why your own seeds can get better over time
Plants that have grown at your specific site have adapted to your microclimate. Your garden soil. Your summer heat. Your watering habits.
That sounds romantic, but it's real. Over several generations — three to five years — plants from your own seeds often become more resilient at your site than bought varieties. This is called site adaptation.
It's not magic. It's selection.
What Frau Schneider is doing
Frau Schneider wrote to me last week: «I've never saved my own seeds before. I thought it was complicated.»
It isn't. You need: a glass, water, kitchen paper, envelopes, and patience for three weeks of drying time.
The hardest part is leaving a fruit on the plant when you really want to eat it.
In the Erntezeit planner you can see which varieties you want to grow again next year — and plan right now which spots to keep free for your own seedlings.
Start your planting plan for next year →
🦔 Stachi
Products mentioned in this post
- Plantura organic tomato seed set (10 varieties)Open-pollinated, good germination — robust for raised beds.
- Organic tomato seed set, 14 varieties
- Organic heirloom tomato seed set (Demeter, 12 varieties)
- Organic vegetable seed set, 10 varietiesCucumber, tomato, beetroot, broccoli, carrot, chard & more.
Related plants


More articles
October 26, 2026 · 3 min read
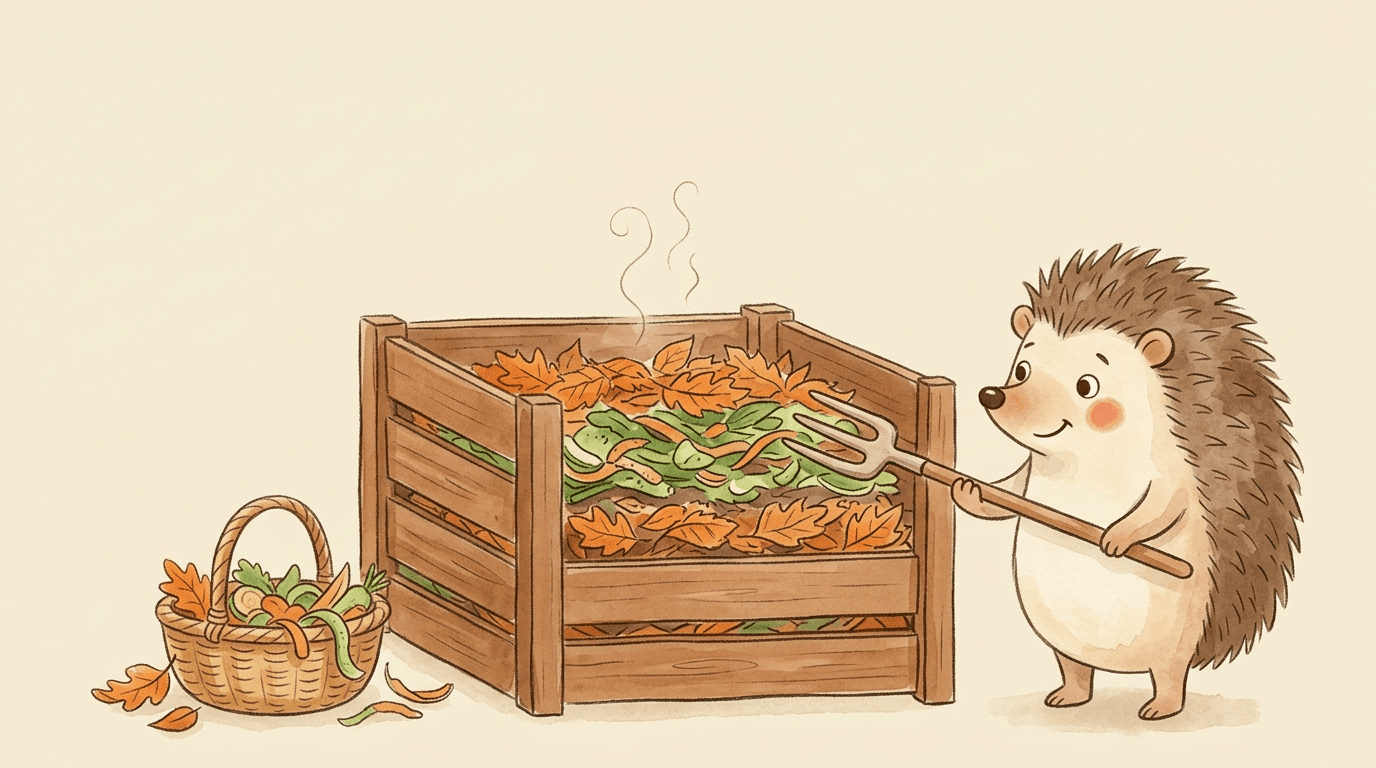
Starting an autumn compost pile: 3 parts leaves, 1 part kitchen scraps
Frau Schneider's compost pile just sat there all winter. No steam on cold mornings, no warmth, no breakdown — just a heap of dry leaves that hadn't changed a bit by March. The problem wasn't patience. It was the mix.
October 20, 2026 · 3 min read
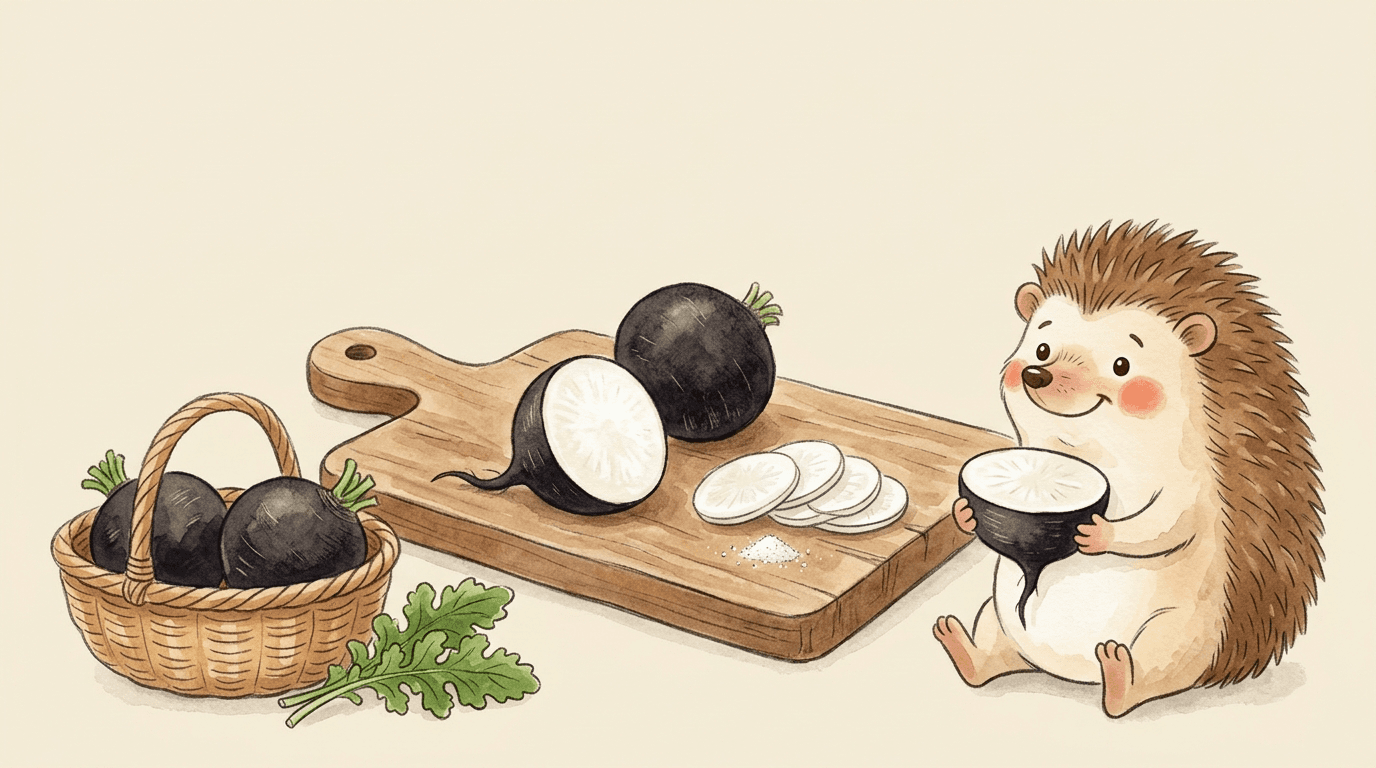
Black radish: why you should let it rest before you bite in
Last year Frau Schneider bit straight into one, unsalted, fresh out of the ground, and spent the next two minutes coughing instead of talking. The problem wasn't the radish. It was the timing.
October 14, 2026 · 2 min read
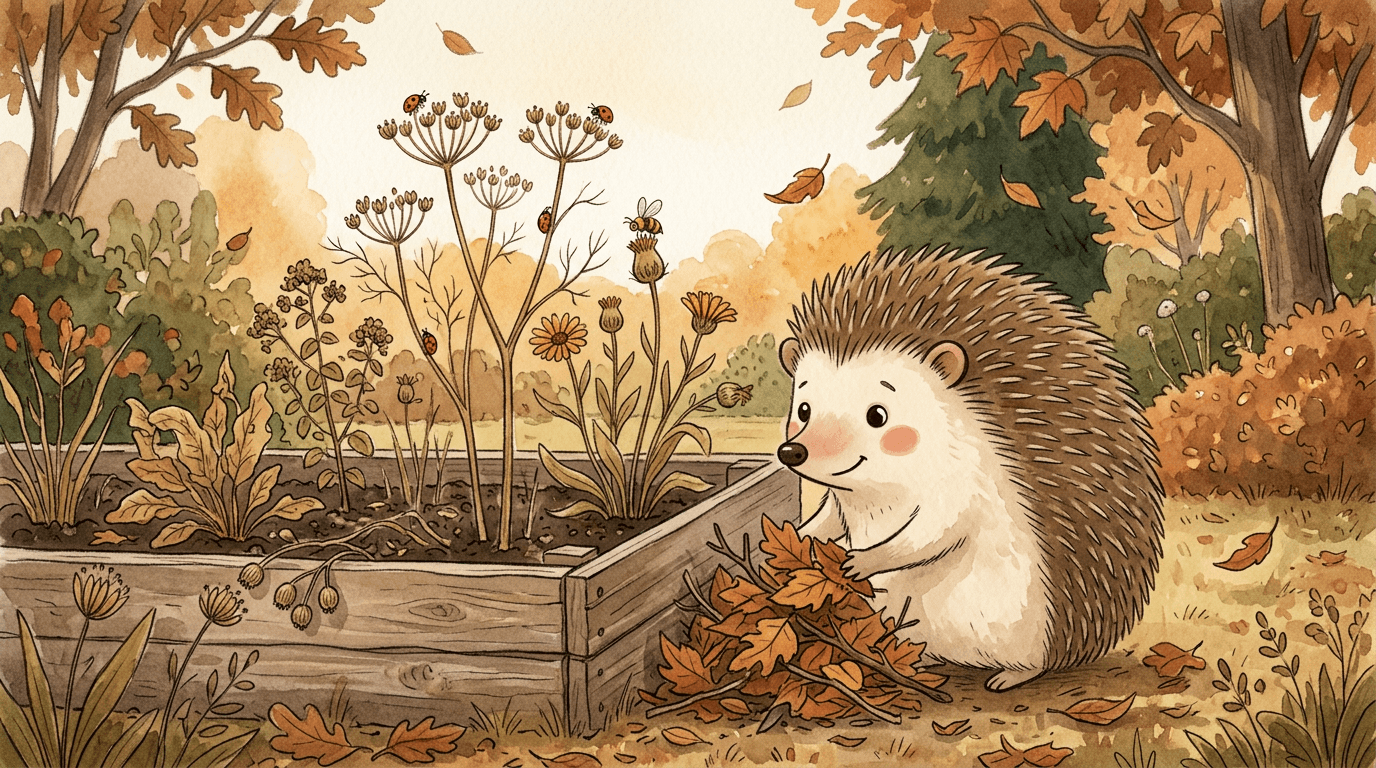
Why I only tidy up half my raised bed in October
Mr Zimmermann cut his entire raised bed down to the ground in one afternoon — stalks, seed heads, leaves, all gone. I should have warned him beforehand: not everything, only half. Here's what should stay standing and what really needs to go.